Sunday, 22 June 2014

AIRBRUSHING: ALCLAD II CHROME COAT - JAW & DETAILS

After the gloss black base coat was fully dry (I gave it 24 hours), next up was the Alclad II chrome lacquer coat. I set the air compressor to approximately 15-20PSI and held the airbrush at around 10-15cm from the parts being sprayed. Application was the same as with the gloss black base coat; using a steady 'brushing' motion over the surface until I achieved the desired reflective finish.

LESS IS MORE WITH ALCLAD
Alclad II chrome is a lacquer comprising of small metal particles. I found that it dries almost immediately upon application. I recommend a 'less is more' approach when applying Alclad II chrome - if you spray on too much it actually starts to dull. There is a 'sweet spot' to find when airbrushing the lacquer - immediately stop as soon as you achieve a nice reflective metal finish. NOTE: Alclad seems to brighten up even further after you have finished application - it actually happens before your eyes over the course of a few seconds. I believe this is caused by the metal particles in the lacquer slowly settling. Additionally, once fully dry (it doesn't take long at all) the chrome finish can be (gently) buffed up with a soft cloth (eg a glasses cloth) which wipes off the fine dust that tends to appear on the surface. You end up with a very reflective, metal-looking coating.


The results of Alclad II's chrome lacquer on the vinyl jaw piece


The individual neck pieces after being 'chromed'


I also applied primer, gloss black base-coat and Alclad II chrome to the jaw pistons


The super-shiny eye balls


I painted each of the mounting pieces for the eye ball and jaw pistons

AIRBRUSHING: THE BASE COAT - PART II

Lessons now learnt, I set about re-spraying the gloss black base coat, and this time made sure I found a suitable place to allow them to dry without the potential for 'accidents'. As mentioned, the Humbrol Gloss Black Enamel Paint is mixed with White Spirits in a 50/50 ratio to enable it to be sprayed on smoothly. I painted all of the parts in a single go, aiming to get a nice smooth finish whilst trying to avoid applying too much paint to prevent running.


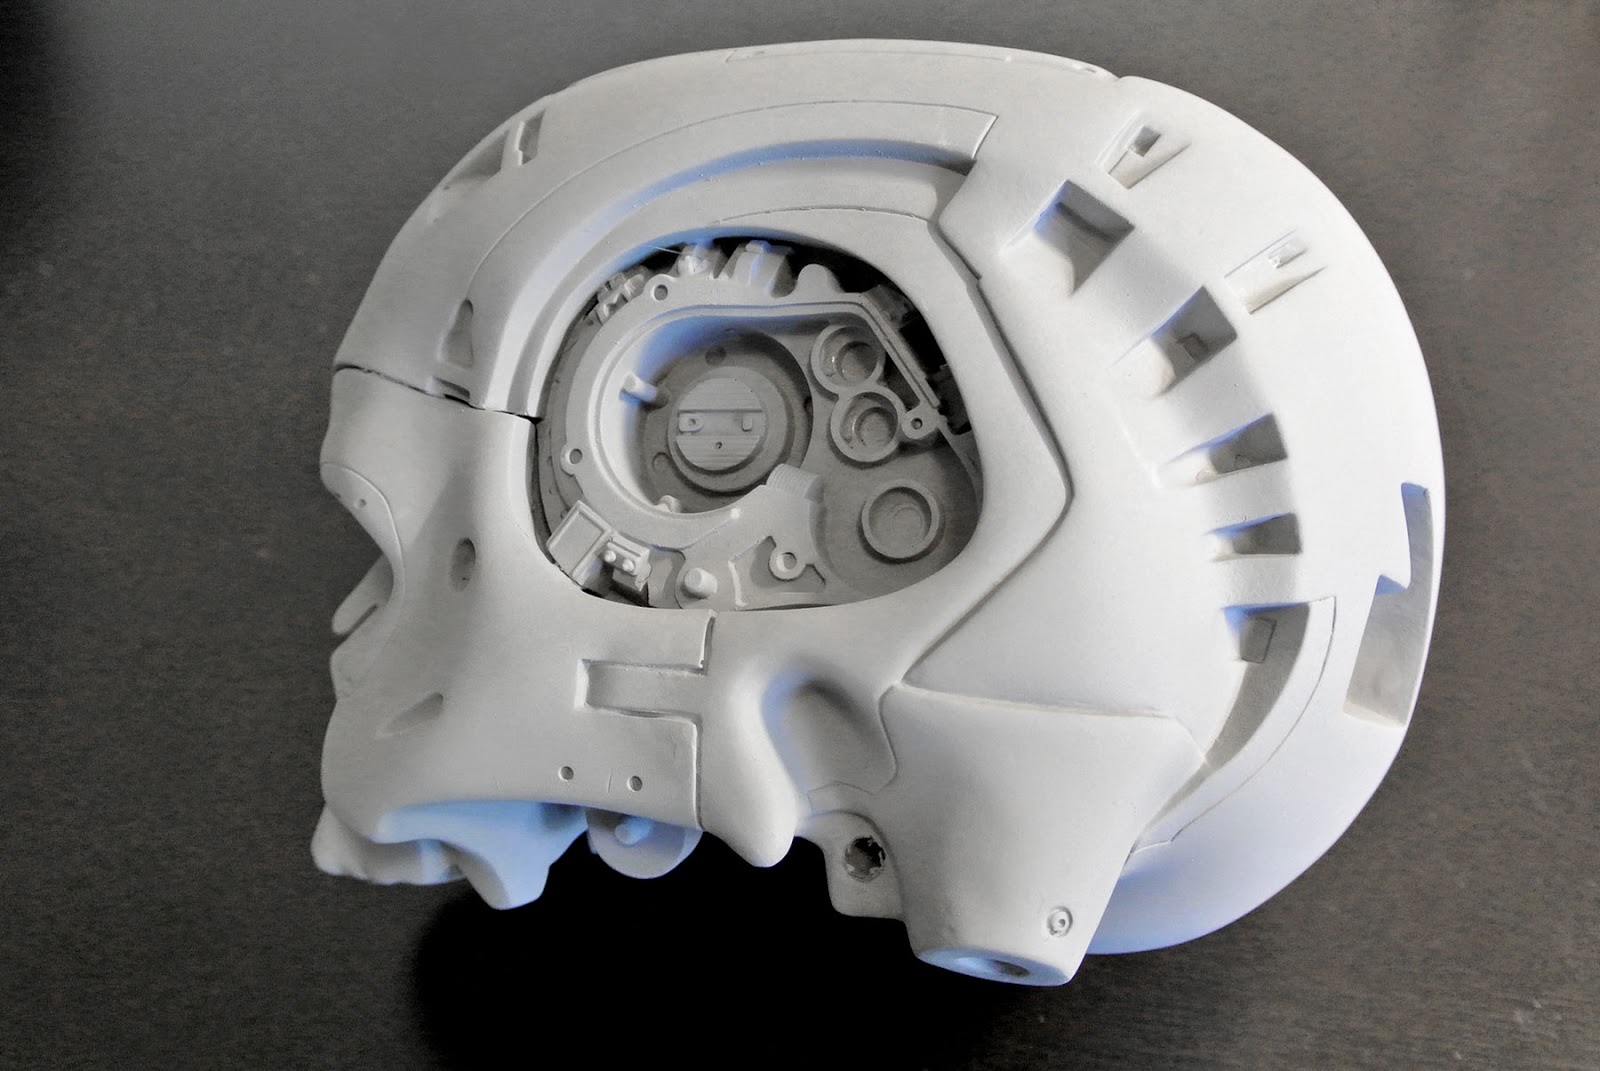
Endo Skull now airbrushed with a base-coat of Humbrol Gloss Black Enamel Paint

Friday, 20 June 2014

ACCIDENTS HAPPEN!

Sometimes accidents just happen, despite being completely avoidable. Once all of the model parts were primed and ready for painting, I set about mounting the skull on the top of a plastic bottle (securing it in position with Blu-Tac) and securing the jaw on the end of a rod. I then sprayed a clean and even base coat of Humbrol Black Gloss; all went well - it looked very sleek and shiny - and I set them to dry on top of a unit in the bathroom.

An hour or so later I returned to the bathroom to check if all was well. It wasn't. The skull was gone, and I was baffled as to where. After a moment of trying to compute the possibilities I came to the conclusion that it had somehow fallen into the (what was previously a) pristine white laundry basket. I lifted the fabric lid to see the black endo skull lying on a white bath towel, looking up at me. It's as if it had deliberately fallen in there - it had clearly rolled along the surface of the bathroom unit and then plummeted over the far end, finding the two whitest items in my home to fall onto and thus stain with gloss black paint. Great! I just had to accept it had happened and chalk it up to experience.

I inspected the skull and discovered that the front was still pristine, but the rear (where it had been lying on the towel) was obviously ruined. As the paint was partially dry, I decided to let it continue to dry completely, and then set about sanding down the damaged areas with fine sandpaper. Fortunately this wasn't too much of an ordeal, and quite quickly I had the skull back in a state ready to tackle spraying the base-coat once again.


Endo Skull after the 'laundry basket accident' and subsequent sanding down to remove the damaged paint work


The jaw pistons now ready for the gloss black base-coat (mounted with tooth-picks in a block of styrofoam)


The vinyl jaw piece, mounted on a rod to ease spraying

AIRBRUSHING: THE BASE COAT - PART I

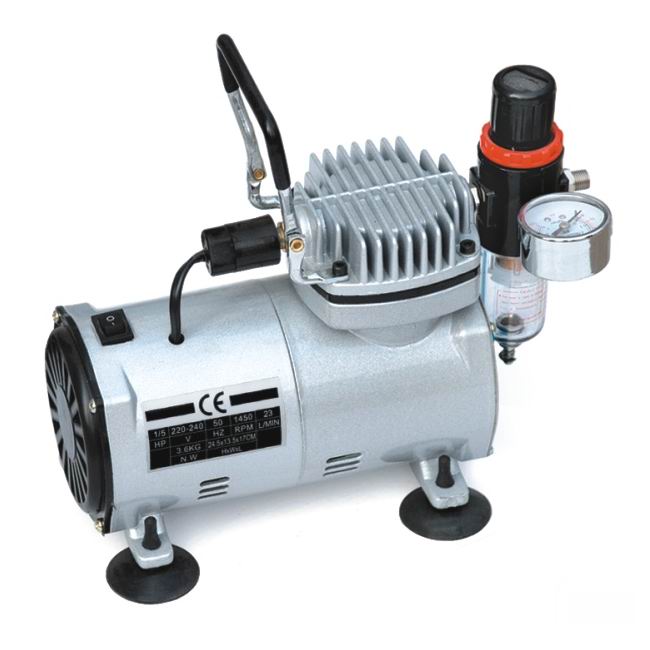
I am using a mini air compressor and dual-action siphon-fed airbrush, much like these:


Mini Air Compressor and Siphon-Fed Airbrush

After some trial and error I decided on using approximately a 50/50 ratio mix of 'Humbrol Gloss Black Enamel Paint (21)' to 'White Spirit' mix, thinning the paint down to make it suitable for airbrushing. Initially I tested using 'Cellulose Thinner' (called 'Lacquer Thinner' in the USA I believe) but it has VERY powerful fumes, so I re-researched and discovered that White Spirit is an equally good alternative with fumes far less toxic than the Cellulose Thinner. As a bonus its much cheaper! Thoroughly mix the paint in the jar until it is even - many people suggest it should be the consistency of milk, which is quite a good visual indicator.

AND REMEMBER: Always work in a well ventilated room and use a face mask when working with such materials.

Mount all of the parts you want to paint so that you can easily airbrush them without the risk of touching and damaging the finish; this may be, for example, blu-tac (or glueing) them onto tooth-picks/plastic sprues, mounting them on rods/sticks, placing them on meshes, or hanging them off wire.

I set the compressor to about 20-25 PSI which allows for a nice flow of paint onto the surface. By using a steady 'brushing' action with the airbrush held at about a 15cm-20cm distance you can quite easily get a very smooth, glossy finish. Make sure you have a very good, bright light source when you are spraying, so that you can use its illumination and reflection to ascertain the point when you've put enough paint on the surface (it will go very smooth and reflective at that point); avoid putting further paint in this area or you risk it running.

Sunday, 15 June 2014

WHICH PAINT?

One of the areas I researched the most when looking to do this re-build was the type of paint to use, and the best methods to achieve an optimal finish. I came to the conclusion that there were two chrome paints that were regarded as the best: "Spaz Stix" 'mirror chrome' and "Alclad II" 'chrome' paints. I decided to use Alclad II as it tended to get the most frequently positive feedback when reading critiques on forums around the 'net, and so ordered a bottle from eBay. To be totally accurate, Alclad II is actually a lacquer, rather than a paint, and works best when airbrushed over a high gloss black base layer. Again, after reading numerous forums, a recommended paint for this was Humbrol's Gloss Black Enamel (No.21), and so I also bought a tinlet from my local model shop.

I read warnings that the base gloss black coat needs to be as pristine as possible, as the Alclad II chrome (due to its highly reflective finish) would show up ANY imperfections to a magnified level when applied on top. So I set about prepping the Endo Skull.


Humbrol Black Gloss Enamel paint, and Allclad II Chrome lacquer; hopefully they'll provide a shiny metallic finish

PRIMER

This part of the process is arguably the most important one, and (my lack of using it previously) is the reason I found myself in the position of having to re-do the Endo Skull after the silver paint ended up turning tacky. The primer serves a few purposes, but the main one is to create a barrier between the vinyl and the top coats of paint you apply (so that the vinyl can't react with the silver paint, as it did previously). I bought a 400ml can of some very affordable ACRYLIC car primer (just a couple of £). It's easy to apply, but BEWARE - it leaves a fine layer of dust over every surface in the room you're spraying (something I learnt only afterwards, much to my horror - don't make the same mistake as me!).

The below photos show the individual parts after they'd been sprayed. The final step in the process, and the second benefit of the primer, is that it helps fill in tiny defects and enables you to also to create a silky smooth finish to all of the parts. You do this by carefully sanding everything down with very fine sandpaper; it leaves an amazingly smooth finish, and is a perfect surface for the next layer of paint.


Both the vinyl and metal pieces were coated with a layer of car primer for the paint to adhere to

TOOTHLESS

Early on in the re-build I decided I'd see if there was an alternative to the moulded teeth that were an integral part of the vinyl kit. I had seen some other people had had some luck with replacing the teeth, so I figured I'd have a go. I managed to find some individual 'Halloween' resin teeth on eBay and so set about cutting the teeth off the vinyl kit.

Vinyl becomes very soft when heated up (submerge it in warm water to see how malleable it can become) which has its advantages (it can be re-shaped if distorted) and pitfalls (easily distorts if exposed to too much heat). I heated up the jaw and skull and then used a scalpel to carefully cut away the teeth. Once they had cooled down I then used a combination of small files and fine sandpaper to smooth off the rough edges.

Finally, after some research, I came to the conclusion that 'Milliput' would be the best option for me to use to fill in the gap that had been created, and to set the teeth in to position. Using Milliput is a two-part process; there are two sticks of a plasticine-like material which need to be combined together to create a usable product. You slice off an equal amount from each stick and then roll-them together in your hands for a few minutes. The soft substance is then easily pushed into the gaps, and you can then carefully push into position each of the teeth to create the indent for them to sit. After a few minutes, before the Milliput completely hardens, the teeth are removed from position. Additionally, once the Milliput is starting to harden, you can smooth off the finish with a slightly wetted finger. Once the Milliput had completely hardened I was able to sand it to a very clean finish with fine sandpaper.

I actually repeated the above process with a small amount of Milliput to fill in some small gaps (visible on the below pictures, which were taken before I did this final bit of work).


'Halloween' resin teeth bought to replace the moulded vinyl teeth 


The moulded vinyl teeth after I'd cut them free from the skull


Milliput was used to fill in the gaps I had made, and allowed for indents to be added for the teeth to sit in